Imagine needing to gather data from multiple users without letting them see each other's entries or risking your file's integrity by giving too many people access.
Traditionally, this would have been managed using Excel User Forms, but these are outdated and require VBA skills.
Moreover, they are limited to desktop use, which isn't practical for those needing to enter data on the go.
The newly updated Microsoft Forms provide a modern, seamless solution for data entry, integrating effortlessly with Excel in real-time.
Users can enter data from any device with a web browser or the free Microsoft Forms app, allowing flexibility and accessibility. Moreover, if they need to revise a response, they can do so easily.
Table of Contents
Watch the Microsoft Forms Video
See step by step the amazing new Microsoft Forms in action including creating prefilled links, editing responses and syncing data to Excel.

Creating Microsoft Forms
Creating Microsoft Forms requires a Microsoft 365 account, but once set up, an account is not required for the respondents.
There are multiple entry points for creating Microsoft Forms.
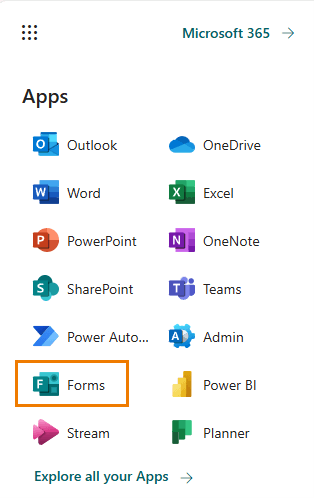
Microsoft 365
Navigate to your account and select Forms.
Forms Web Page
Visit Forms.office.com and log in with your 365 account.
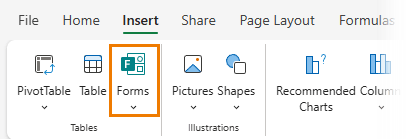
Excel Online
If you have an Excel file ready, open it in Excel Online and use the Insert tab to access Forms.
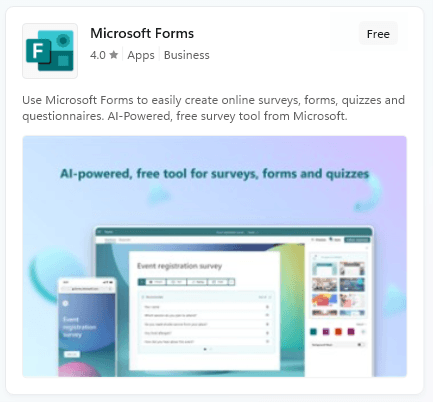
Forms App
Download the free Forms app from the Microsoft Store.
Microsoft Forms can be used for surveys, quizzes, and polls, but one of its most significant advantages lies in data collection, which would traditionally be managed via email or direct entry into Excel spreadsheets.
Forms can be easily set up to collect sales data or any other type of information.
Prefilled Links
Previously, repetitive questions required manual entries, but with the introduction of prefilled links, this process is streamlined.
Prefilled links save time and reduce errors by setting default answers for specific questions.
To create a prefilled link:
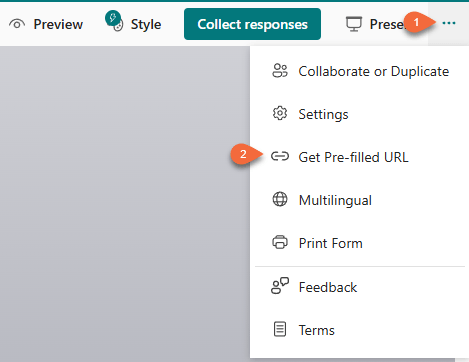
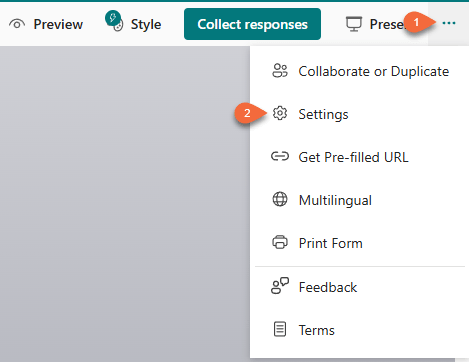
- Click the ellipsis in the Form creation screen.
- Select "Get prefilled URL."
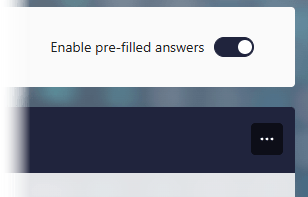
- Ensure "Enable pre-filled answers" is selected.
- Enter the data you want prefilled, skipping any questions for the user to fill. Click next until you get to the end of the form.
- Click "Get Prefilled Link" and share the link with your users.
Editing Responses
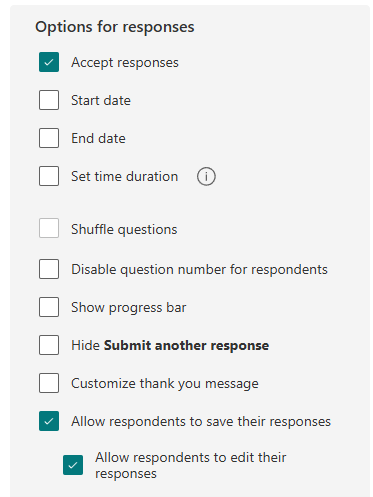
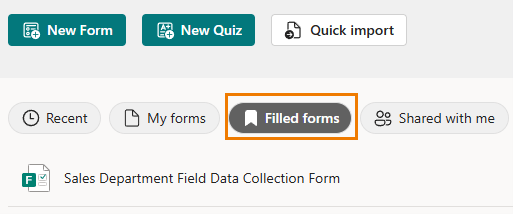
Another significant improvement in Microsoft Forms is the ability to edit responses. If updates or edits are needed, responses can be saved and edited from the 'filled forms' tab. This feature is enabled in the form settings
Under "Options for Responses", where you can allow respondents to save and edit their responses:
Notice the other settings including specifying who can fill out the form, start and end dates, time limits, and more.
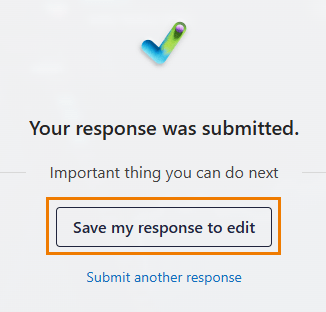
Once enabled, upon submitting the form users can save their responses for editing later:
You'll find your saved forms under the 'Filled Forms' tab at forms.office.com:
From there you can view your previous responses and edit them if required. Any edits overwrite the previous responses.
Syncing Data to Excel
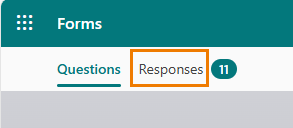
Data collected via Microsoft Forms is stored and can be accessed from the 'Responses' tab for quick analysis:
The data can also be synced with an Excel file linked to the form, allowing for automatic updates as new responses come in.
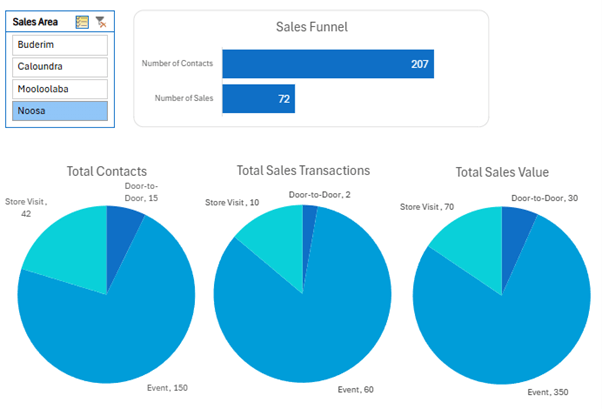
This tabular layout is ideal for analysis using PivotTables, formulas, or Power Query for more detailed data shaping.
From here we can further shape the data with Power Query to allow for automated analysis with formulas, PivotTables, Slicers and more:
Google Forms Migration
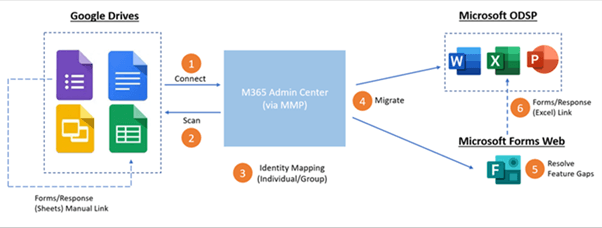
For those using Google Forms, migrating to Microsoft Forms is straightforward, allowing all your data collection tools to be unified under one platform.
Step-by-step instructions are available here on the Microsoft Forms blog.
[Image credit: Microsoft]
Next Steps
Microsoft Forms offers a powerful, user-friendly way to manage data collection, whether you're leading a team, teaching a class, or gathering information. Combined with Power Query for data shaping and analysis, Microsoft Forms is a game-changer for automating reports and simplifying workflows.
Check out the tutorial on Power Query to get started on transforming your data collection and analysis processes.
And if you want to get your Power Query skills up to speed fast, consider my Power Query course.




Is there a way to link a list to a dropdown? Ps love this information
Glad it’s useful, Deb. There’s no way currently to link a list to a drop down AFAIK, sorry.
Great guide, but is to be updated a bit – automatic sync doesn’t work such way any more.
Thanks for the heads up, Sergei!